How to Frame Fabric on a Slate Frame
New to Luneville embroidery?
Start with the chain stitch—my free visual guide shows you exactly how
You’ll find numerous videos on YouTube about framing fabric on a slate frame – just type “How to frame fabric on a slate frame?” and you’ll uncover countless techniques and opinions. And honestly, sometimes I wonder why this question is still even asked. But it is a common question, so in this article, I’ll share my approach to framing and why I consider this process essential. It’s not about looks; it’s about speed and efficiency.
Why Efficient Framing Matters
First, let’s set one thing straight: embroidery is a time-consuming process. As artisans, we need to make every preparation step as efficient as possible. Framing fabric isn’t about making it visually appealing (unless you’re doing it for Instagram), but about achieving optimal tension and stability for the work itself. Here are my basic rules for framing:
Drum-Tight Tension: Your fabric should be stretched tight enough to create a “drum” sound when tapped. This confirms you have the right tension.
Speedy Setup: Aim to frame quickly. For instance, I try to finish framing a 120x70 cm fabric in 30 minutes or less.
Materials That Work for You: Forget rigid “rules” about ropes or twill tape. Use what suits your needs best, but prioritize maintaining tension.
Slate Frames Are Industry Standard: For most projects, a slate frame offers the best support and tension. Hoops work for smaller projects, but they rarely achieve the tension slate frames provide.
Step-by-Step Guide to Framing a Slate Frame
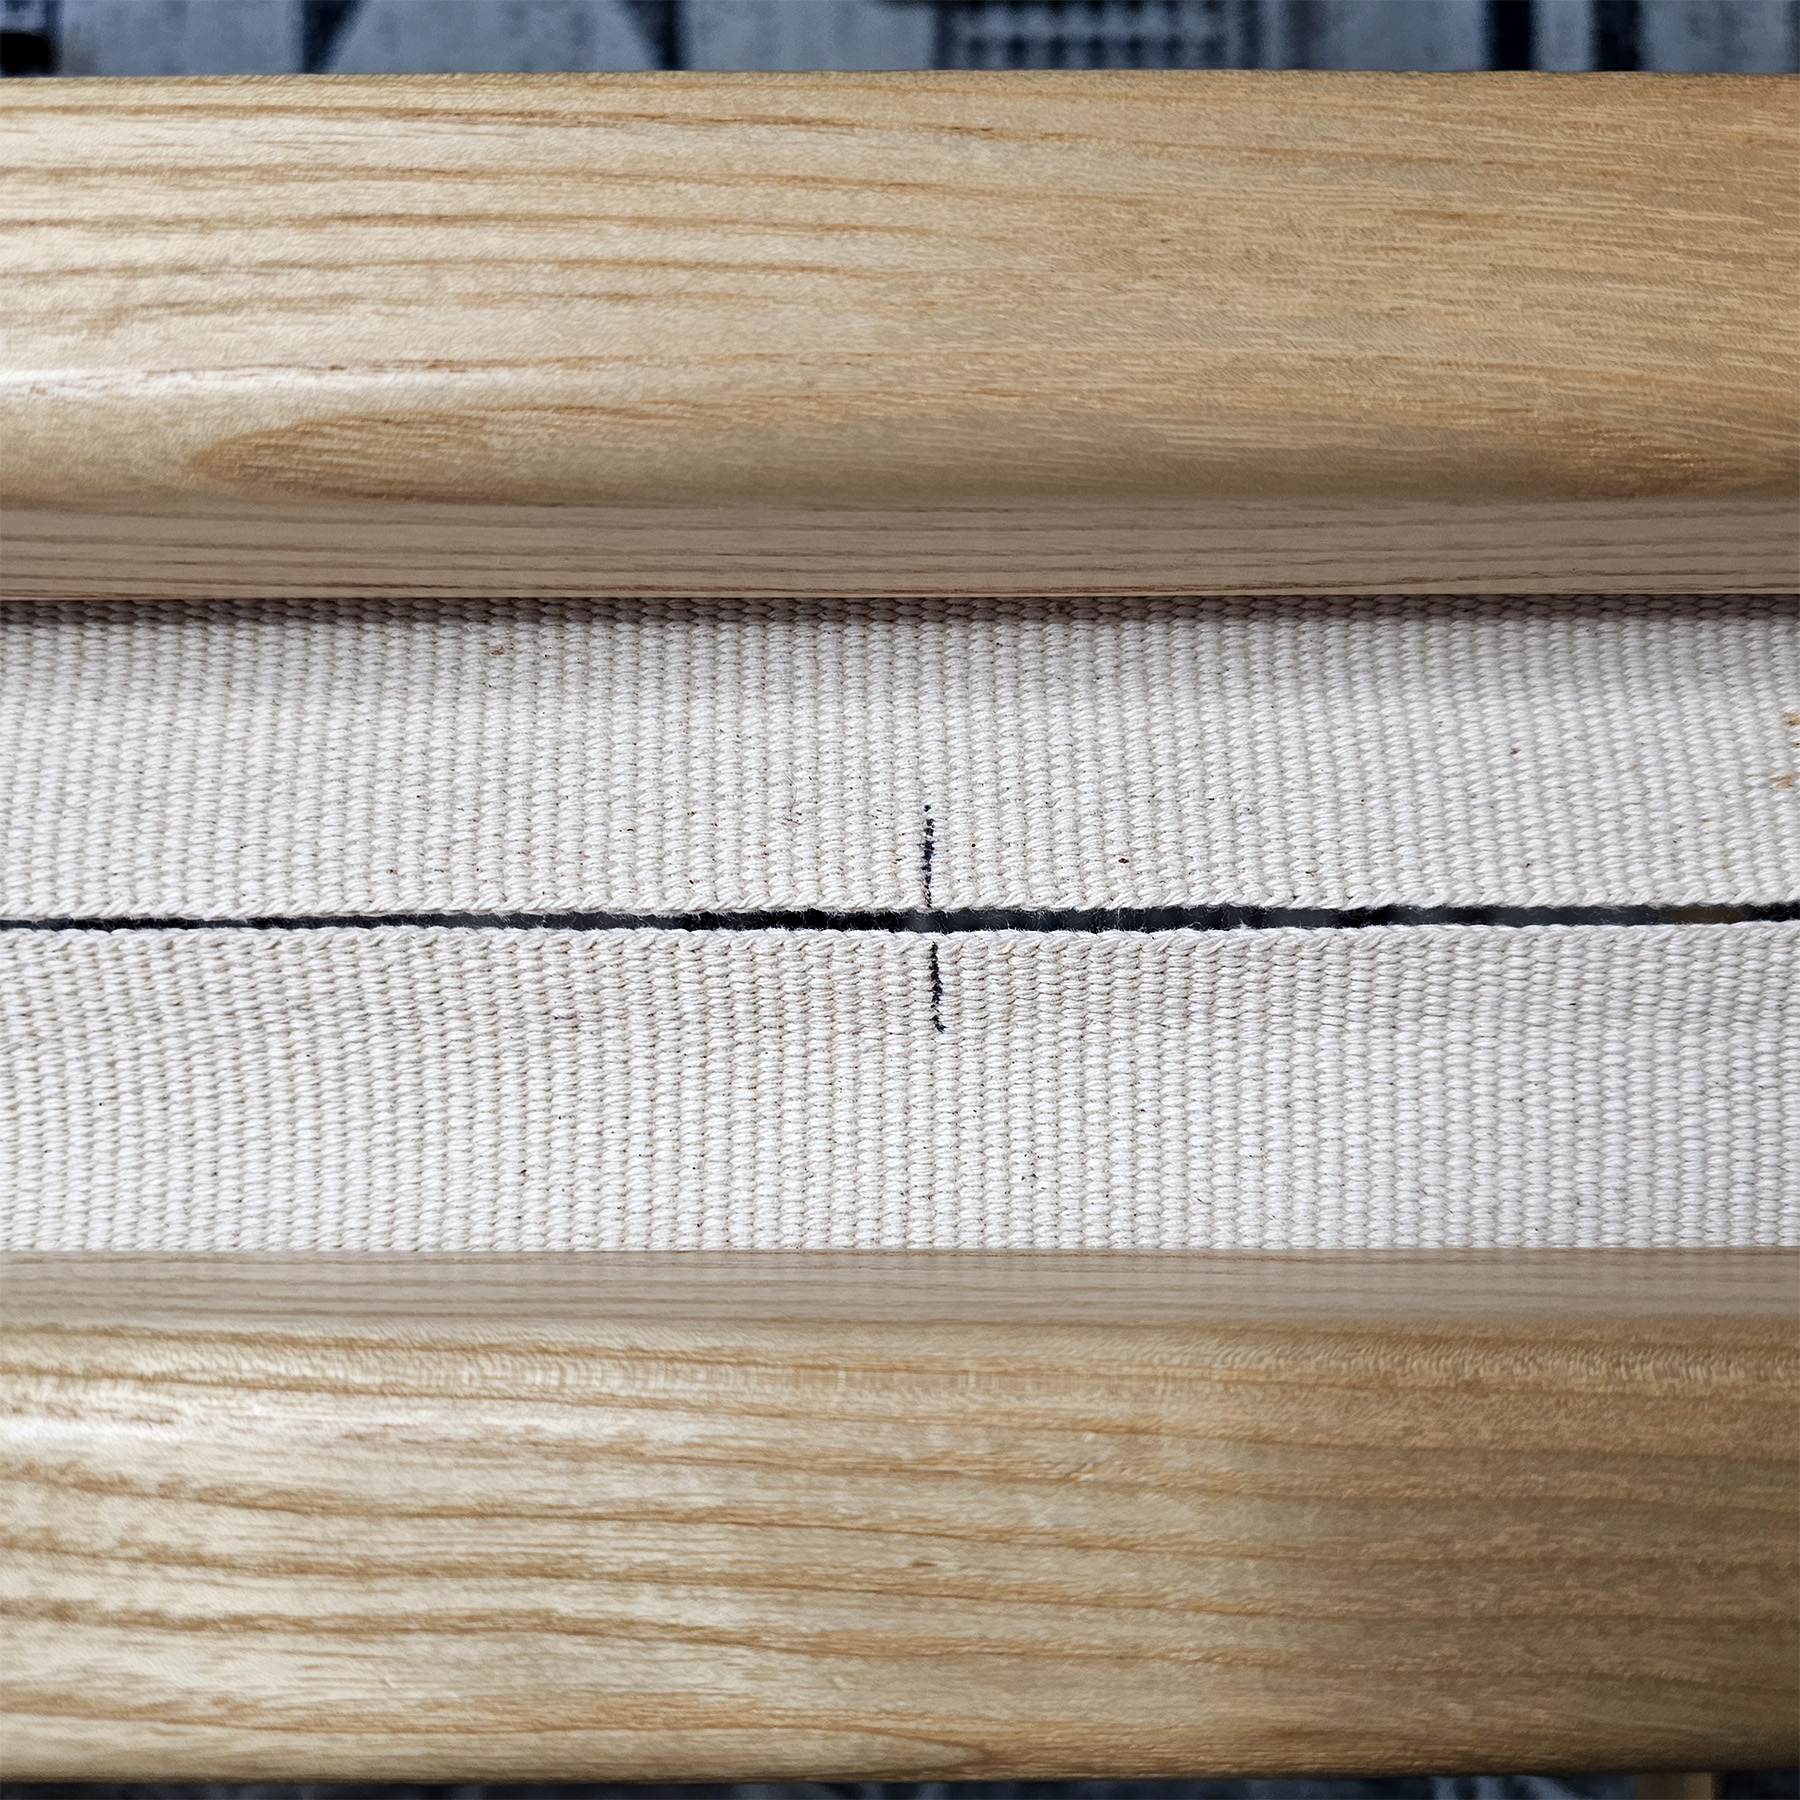
0. Preparing the Frame
When you first unpack your frame, make it your own. Measure the center point on each plank, and mark it with a lasting ink. These marks save time every time you frame.
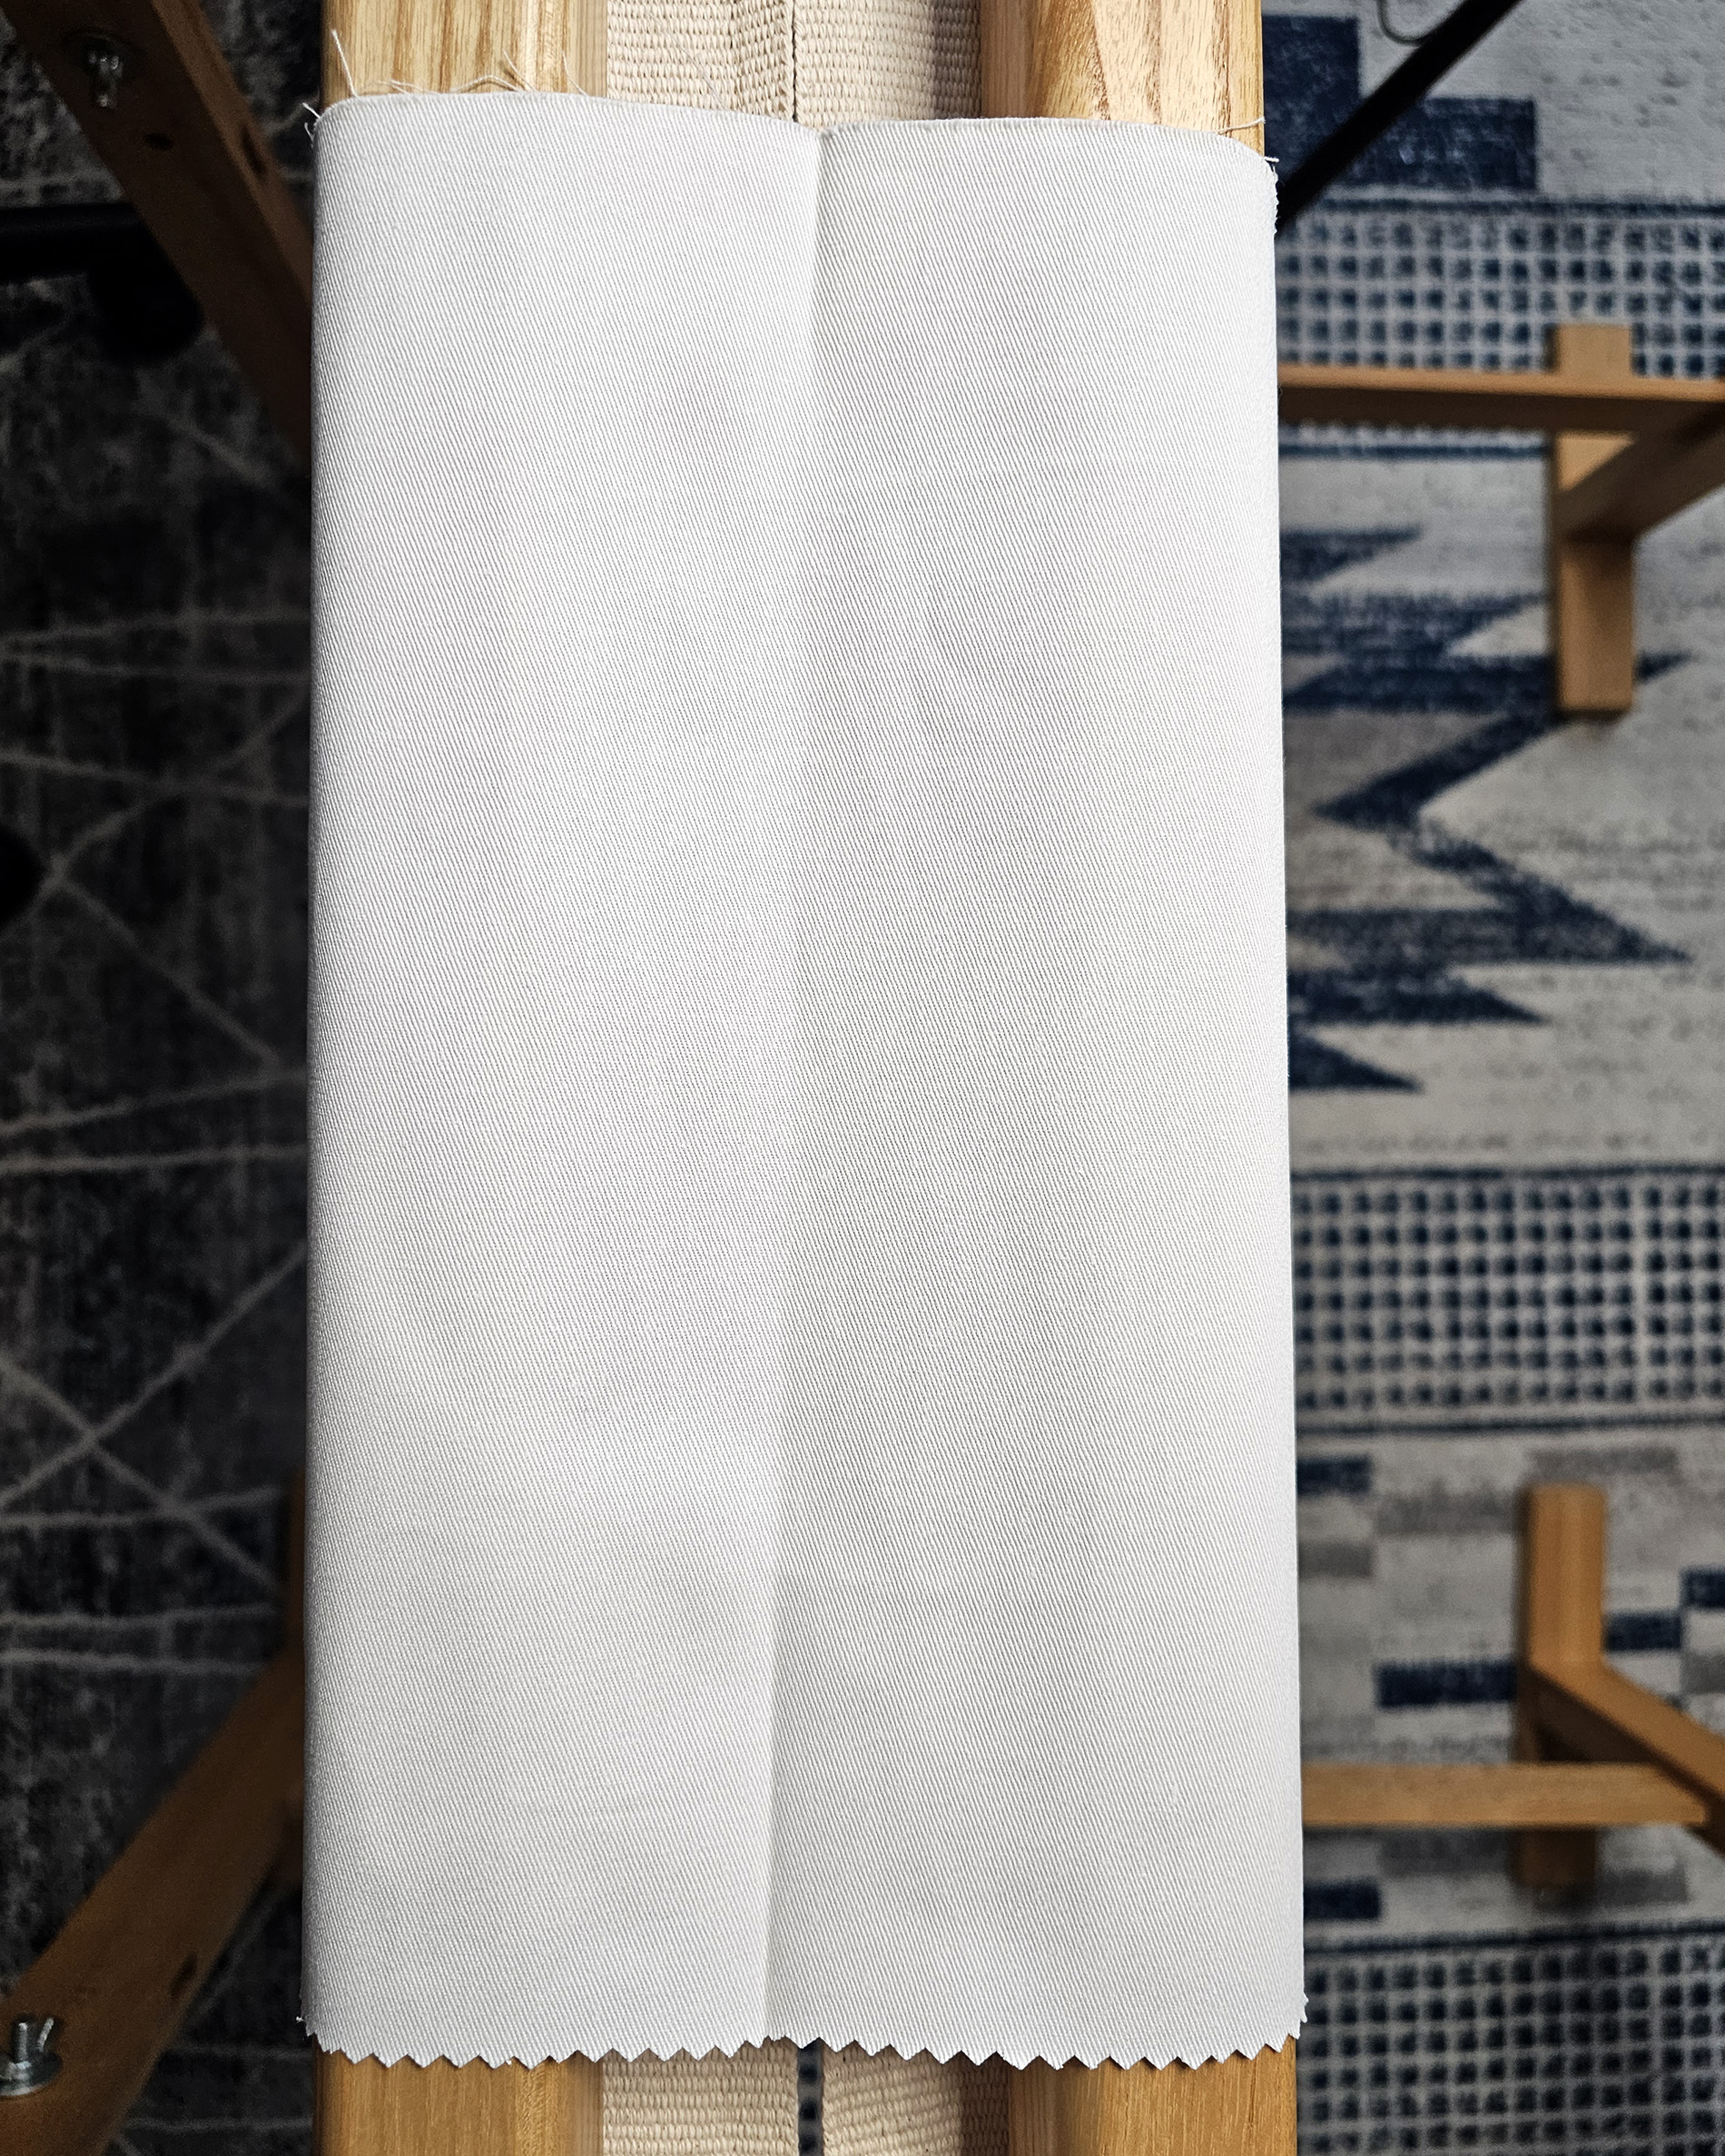
1. Preparing the Fabric
Iron and/or steam your fabric, depending on its type. Plan your project and cut the fabric with a 3 cm seam allowance. Mark the center by folding the fabric in half and ironing the fold. Skip pins or invisible markers – the ironed crease works just fine.
Note: Use pinking shears to cut the edges of the fabric to prevent fraying, avoiding the mess and residue of masking tape.
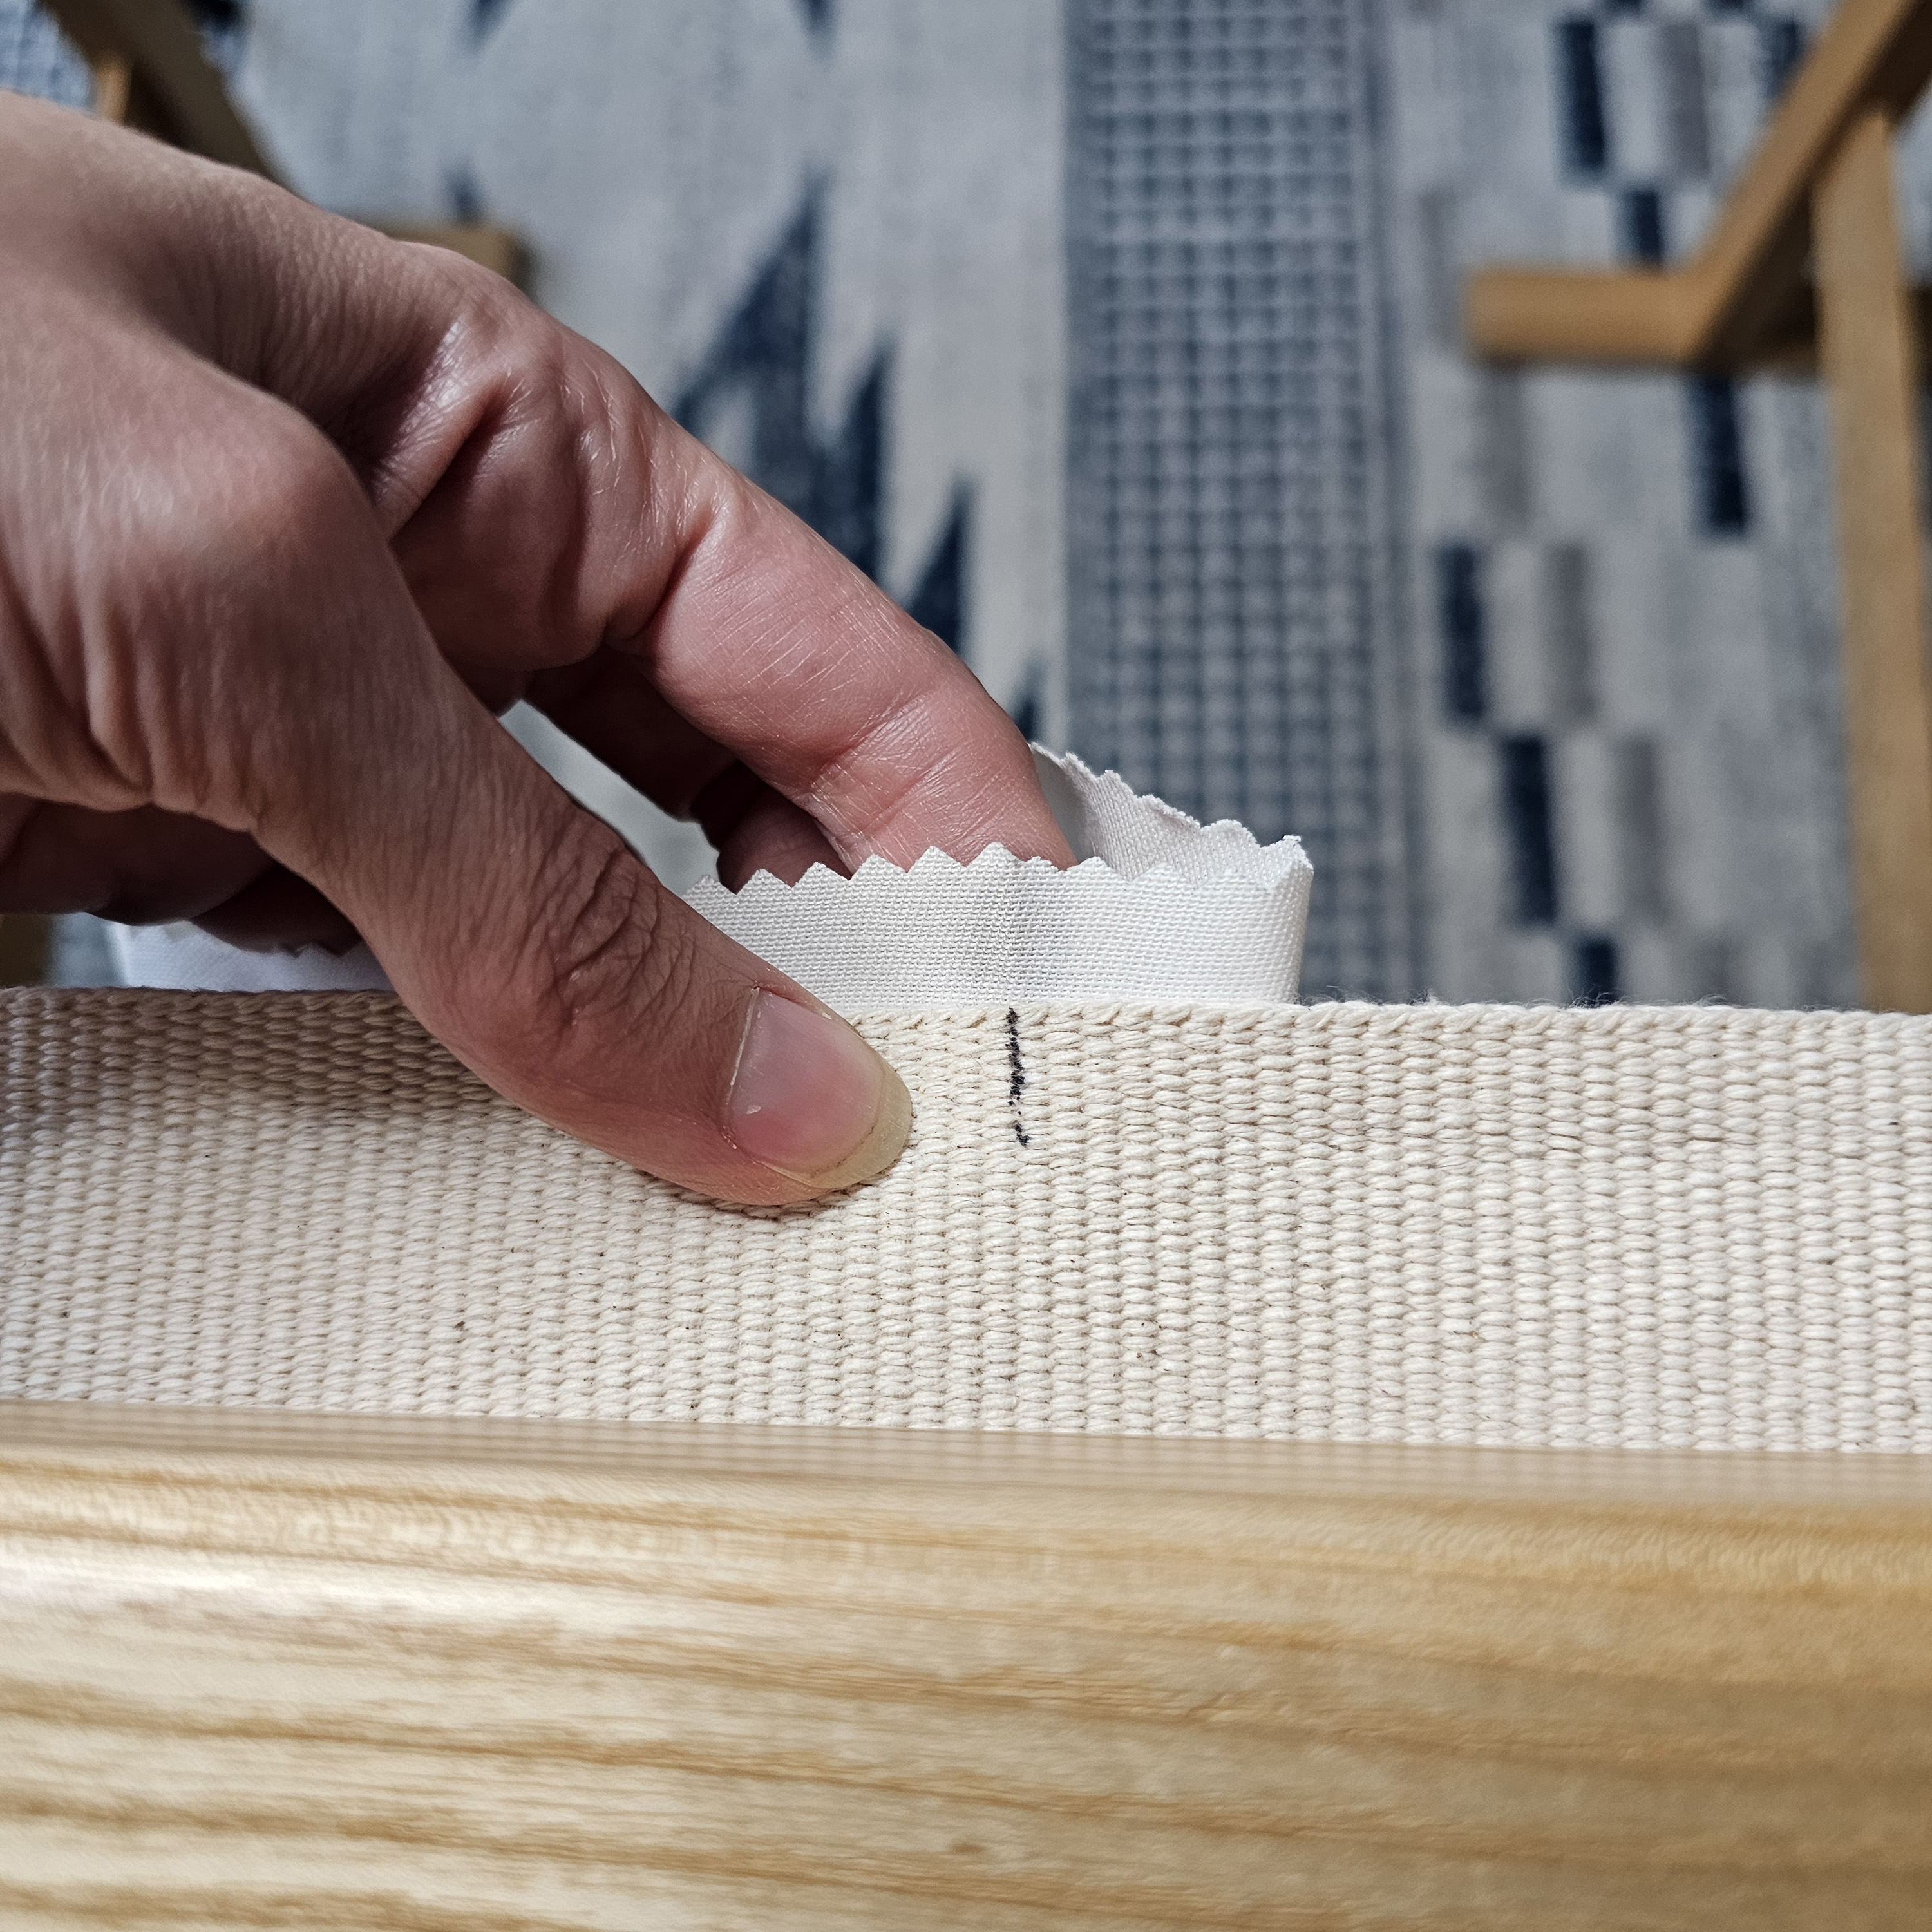
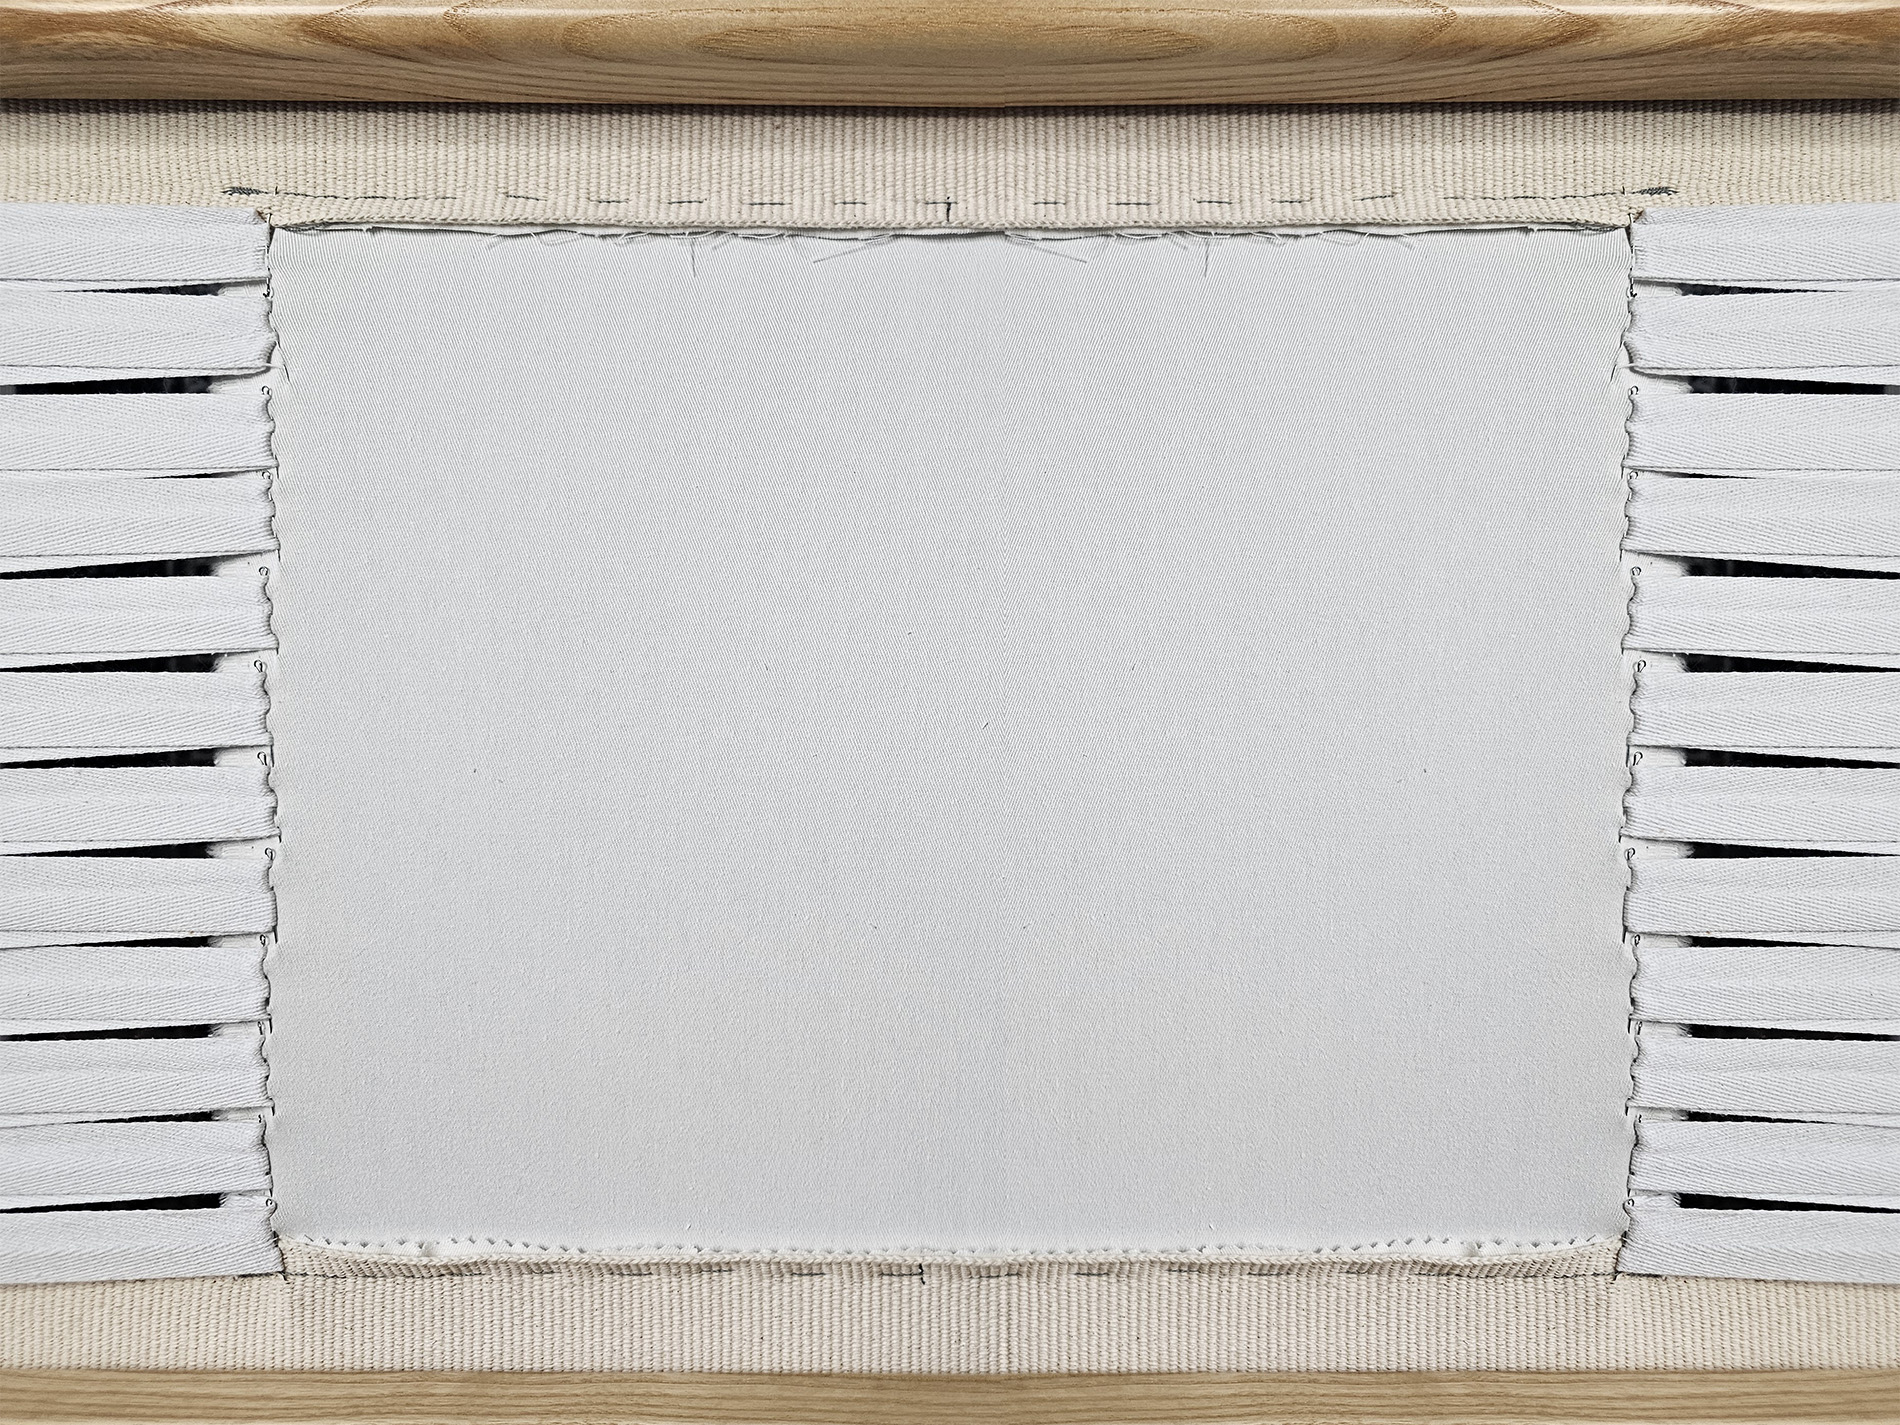
2. Mounting Fabric onto the Frame
Align the center marks on the planks with the center crease of your fabric. Pin along the edges without stretching the fabric at this stage. Then, sew the fabric to the frame tape using thick, sturdy thread like that used by shoemakers.
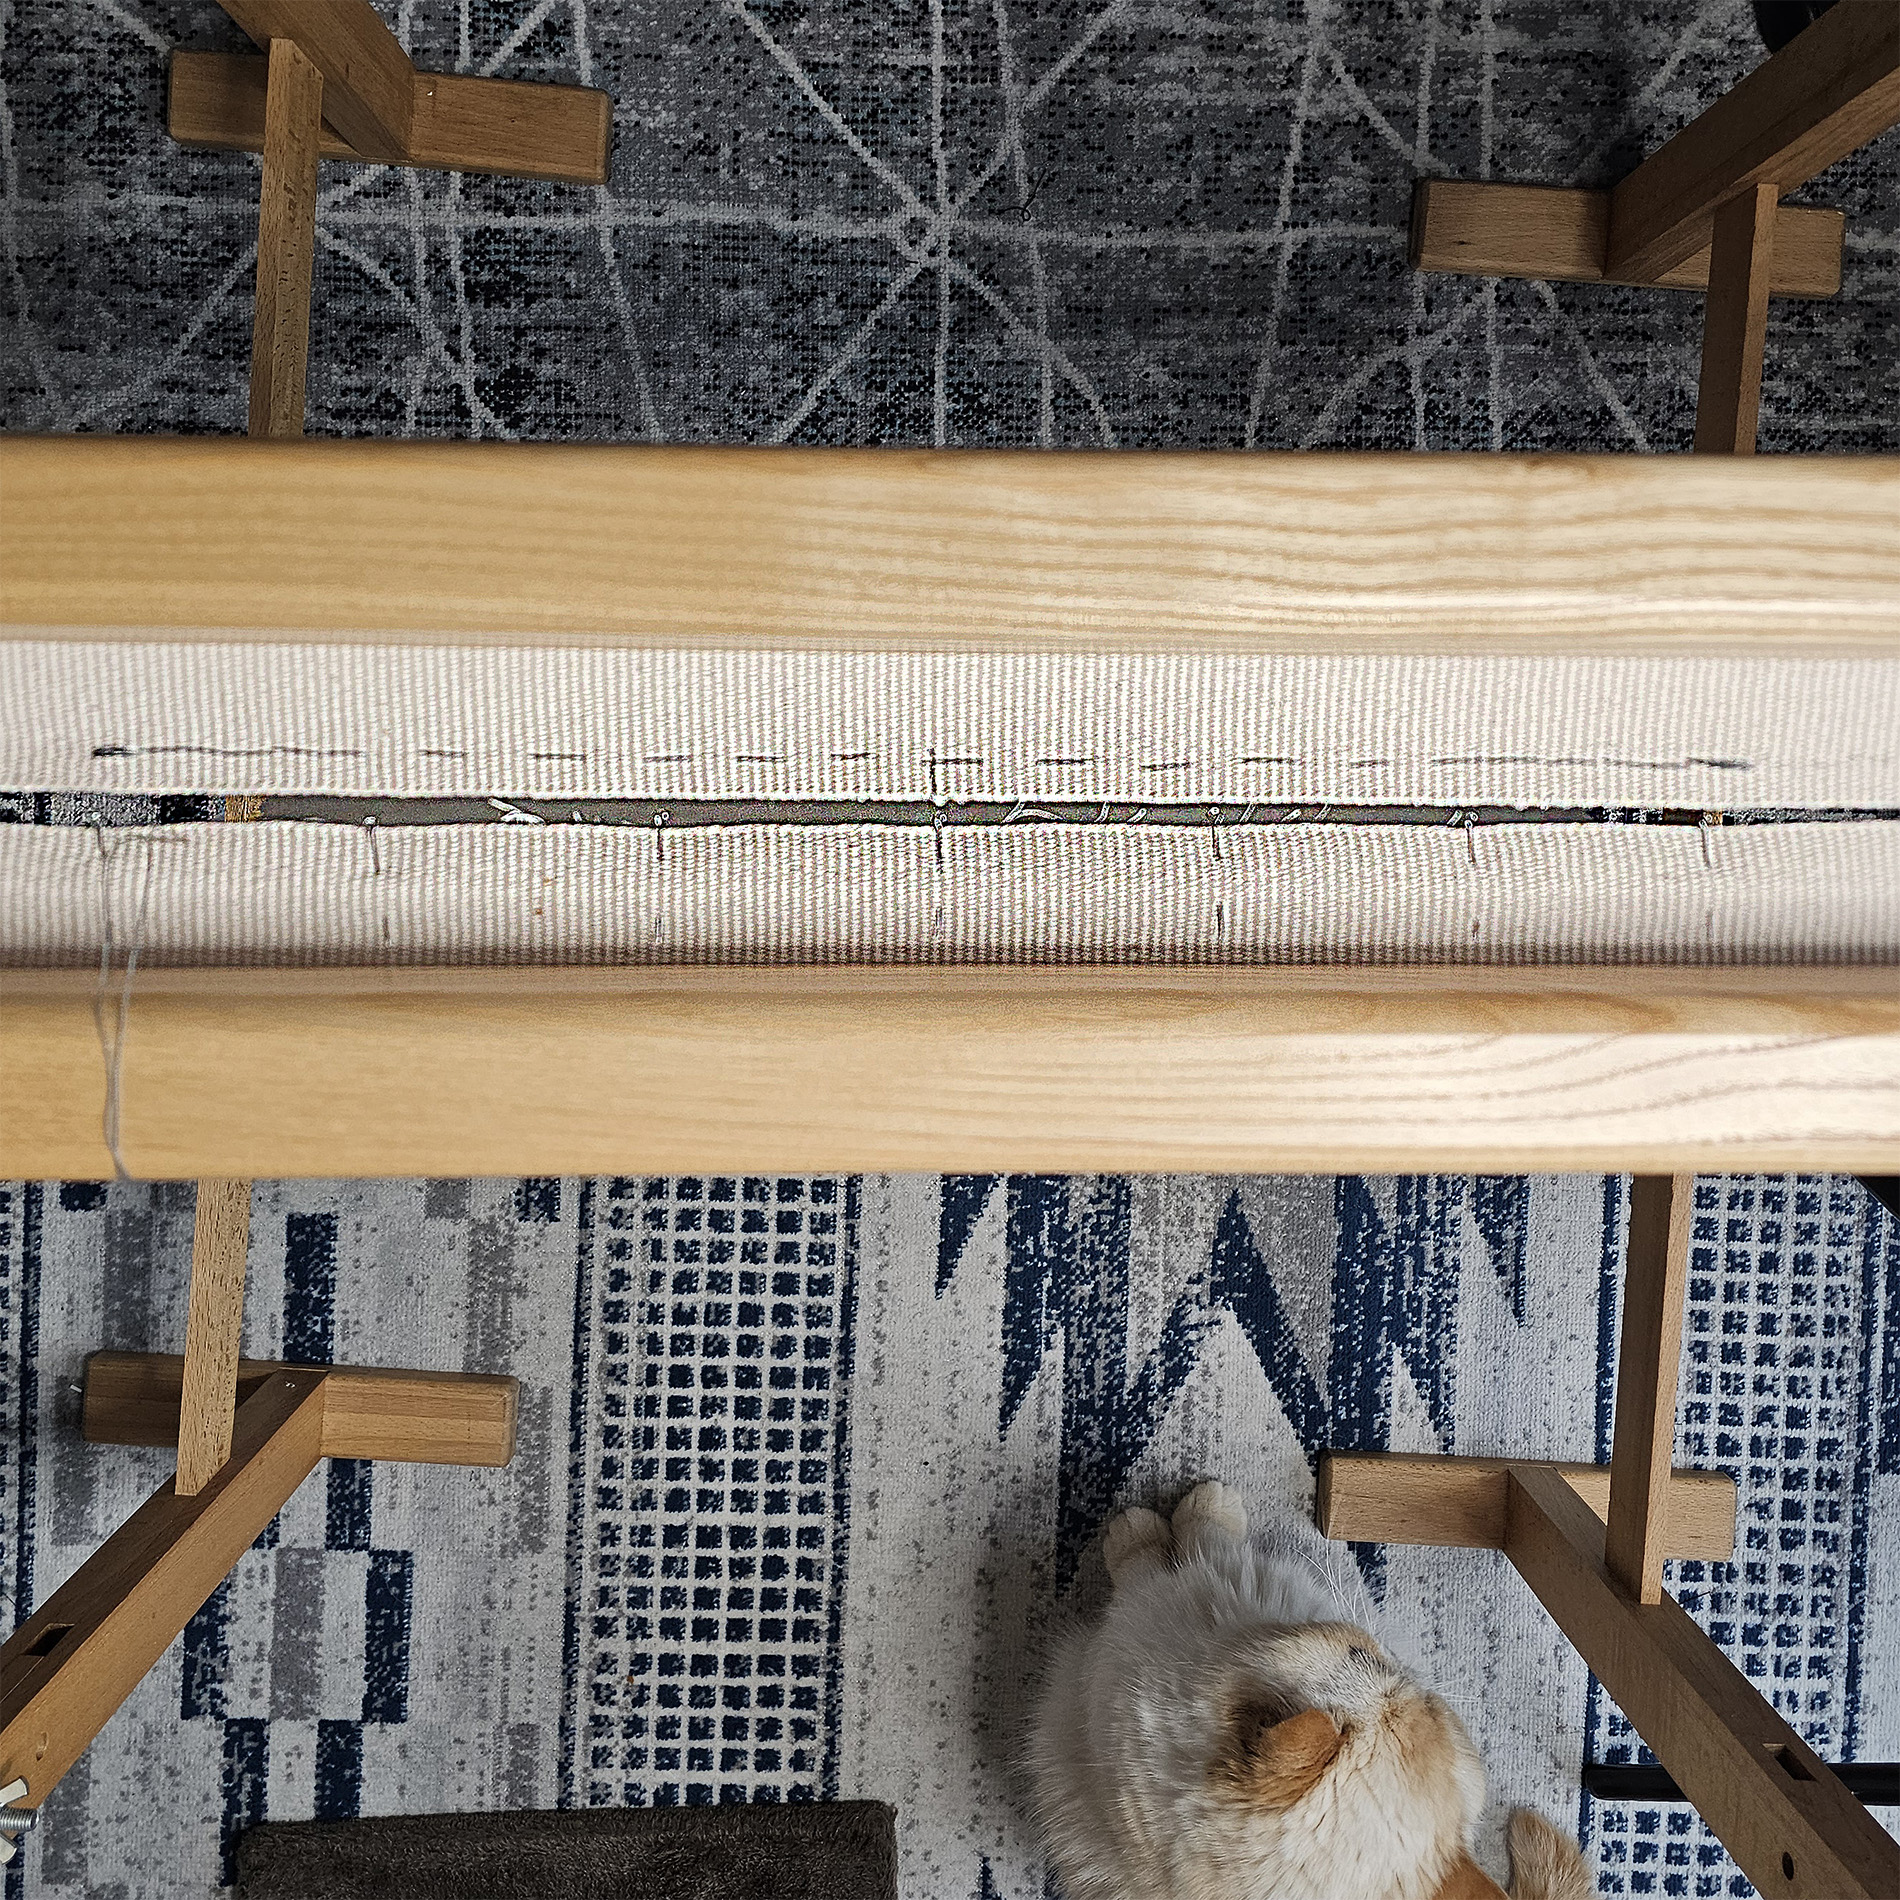
How to Sew: Leave a 1 cm margin from the edge of the fabric and use a forward stitch, approximately 1 cm in length. Secure the corners with a 3 cm backstitch for extra stability.
3. Vertical Stretching
Secure the vertical planks using screws (or the tools provided with your frame), applying strong tension. This initial tension will help support even lacing later on.
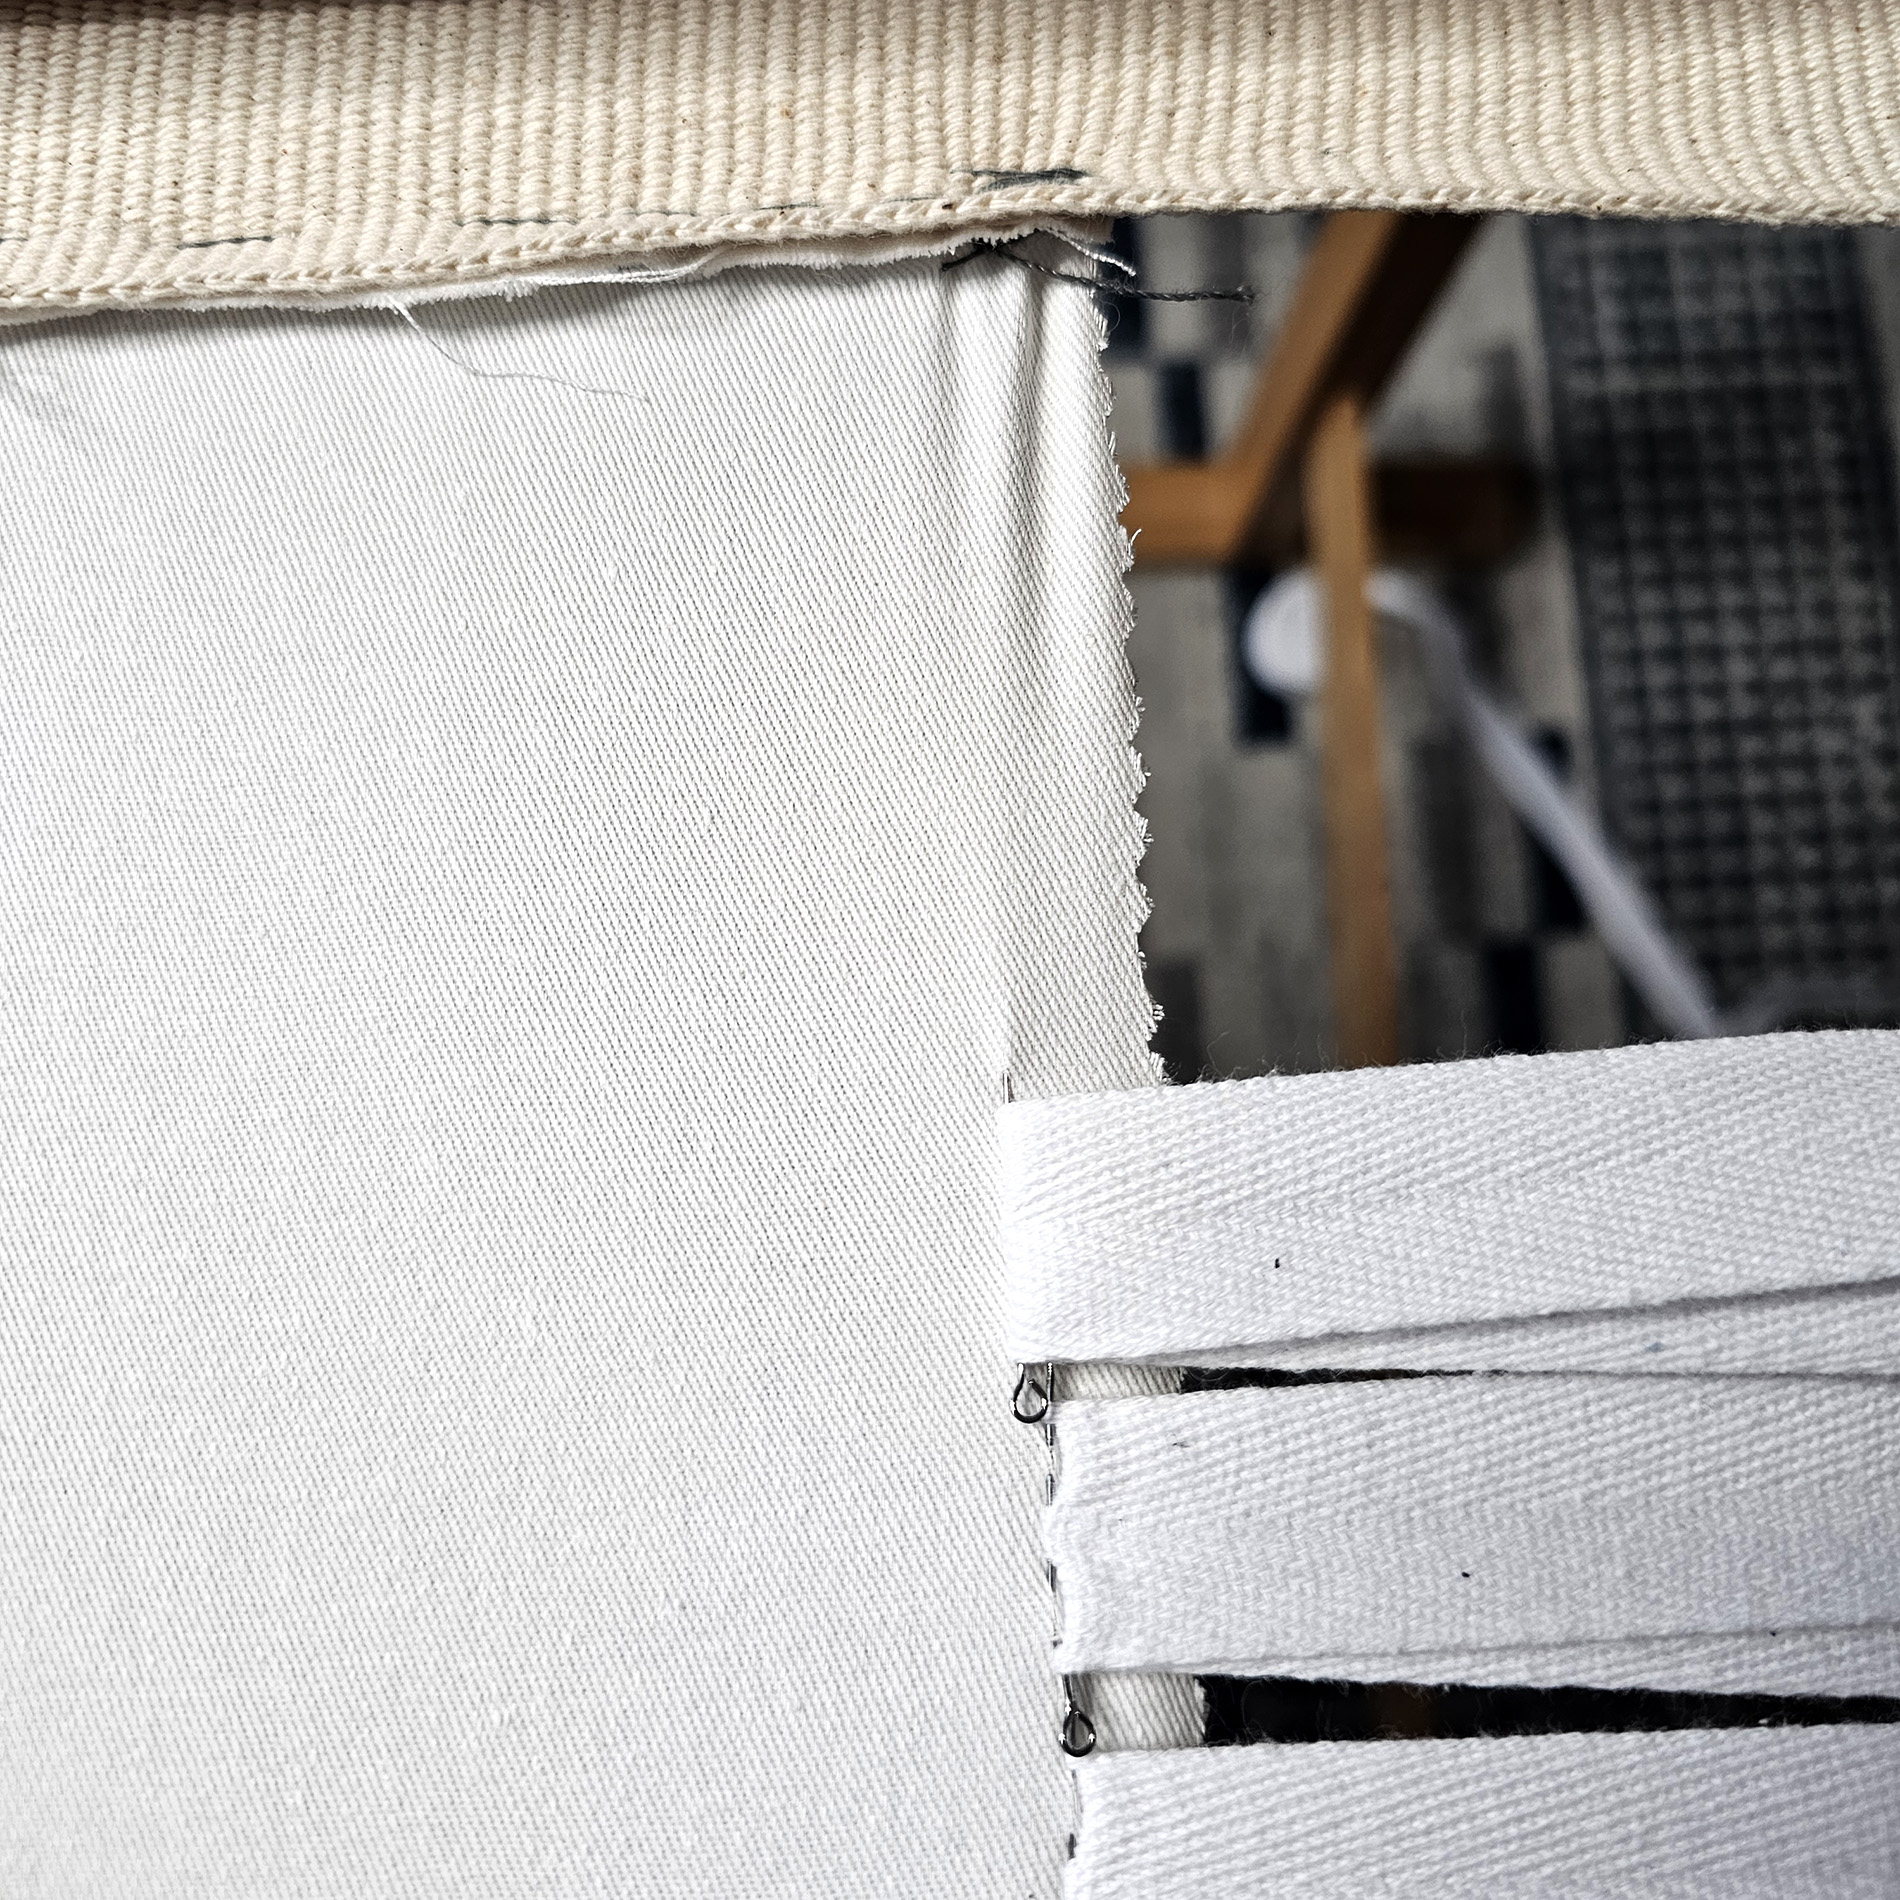
4. Horizontal Stretching (Securing with Lacing)
I personally use twill tape for lacing, but ropes or cords work too. You’ll need very sturdy pins for this step.
How to Lace: Pin the tape 1 cm back from the edge of the fabric, pulling it tight as you go. Alternately pin each side – two pins on one side, then two on the other – to distribute tension evenly. Gaps between pins are fine, but closer spacing generally provides better tension distribution.
Tip: Stretching fabric evenly across both sides generally achieves the best tension distribution.
5. Final Check
Once you’re finished, tap the fabric to ensure it’s drum-tight. If not, adjust the vertical tension first, as it’s easier to tighten at this stage.
Final Thoughts
Framing fabric on a slate frame may seem like a technical step, but with a few adjustments and some experience, it becomes second nature. Remember, the goal isn’t just tension – it’s efficiency and reliability in your setup. I hope these tips bring a fresh perspective to your framing process and help you save time on every project.
Have you found any tricks or tools that streamline your framing setup? Share your insights in the comments – I’d love to hear how other artisans approach this essential step!
Looking for a budget-friendly alternative?
Not ready to invest in a slate frame? A wooden artist's frame is a simple and effective option for achieving drum-tight fabric tension. Learn how to use one step-by-step here: How to Stretch Fabric on a Wooden Frame for Embroidery.
Written By
Ksenia Semirova
MA Textiles
An experienced hand embroidery and textile artist based in Hove, UK. Professionally practicing since 2021, mastering various techniques.
Also a fine artist and visual researcher, exhibiting her works across the UK and internationally.
Join my mailing list
Get the latest and greatest updates to your inbox!